Plugins
With GrapheneDB, you can extend your database via Plugins. This feature allows you to upload and manage them right from your database interface, by navigating to the Plugins tab and uploading a .jar file. Please navigate to the Configuration tab if you need to add special configurations for your Plugins.
You can also upload your own procedures if you need. To know more about how to write and call procedures, please visit the Neo4j procedures documentation.
⚠️ Important
- Before using a plugin, make sure you understand how it works and that you’re using the compatible version with your version of the database. Additionally, if you are adding a third-party unmanaged extension, make sure to audit the code before you proceed.
- If your plugin necessitates outbound traffic, for example, the APOC procedure to send data to an external ES server, you will be required to include the server’s IP address in your Environment’s IP Whitelist.
- Another option is to establish a peering connection with the external server.
- If neither of these alternatives is feasible, you will need to whitelist all IP addresses, meaning that you’ll need to add 0.0.0.0/0 to the Environment’s Whitelist.
Adding a Plugin
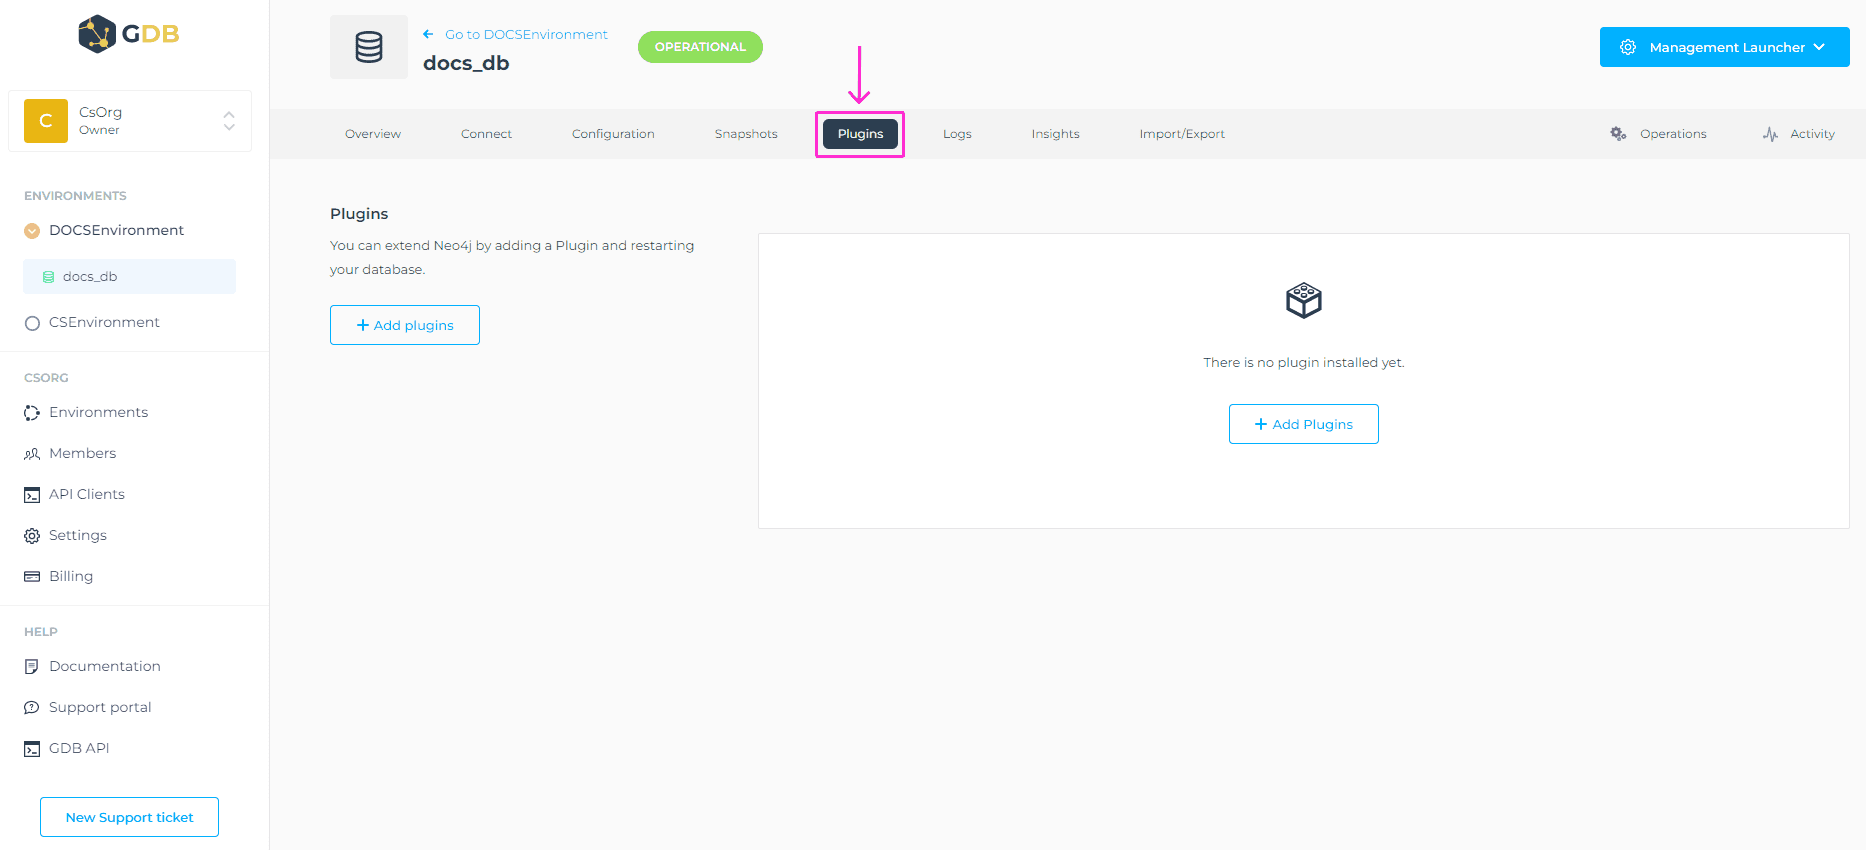
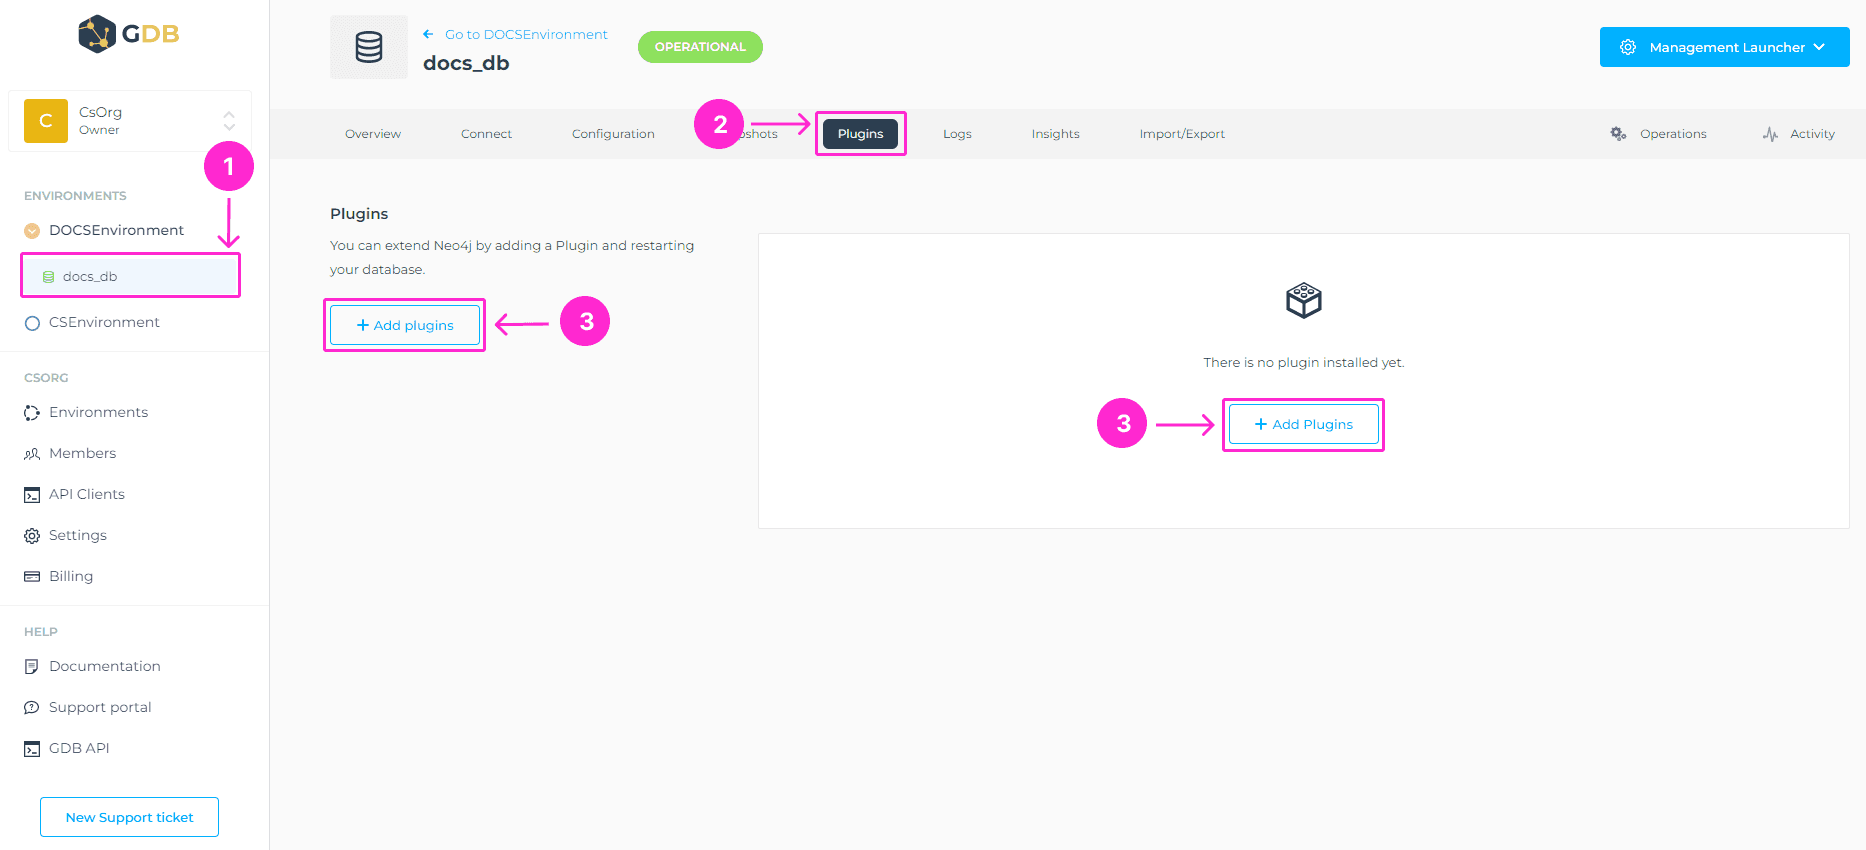
To add the desired plugin to the database of your choice, navigate to the database interface, Plugins tab > + Add Plugins button. When you add a plugin we are placing that .jar file in the /plugins folder.
ℹ️ Info
Name is just a label that you can use to identify the plugin. Use it to put interesting information that would help you identify it later on, like the plugin name, version, etc. When naming a Plugin these conditions must be met:
- At least two characters long.
- At most thirty characters long.
- Can only contain alphabetical characters, numbers, underscore or dashes.
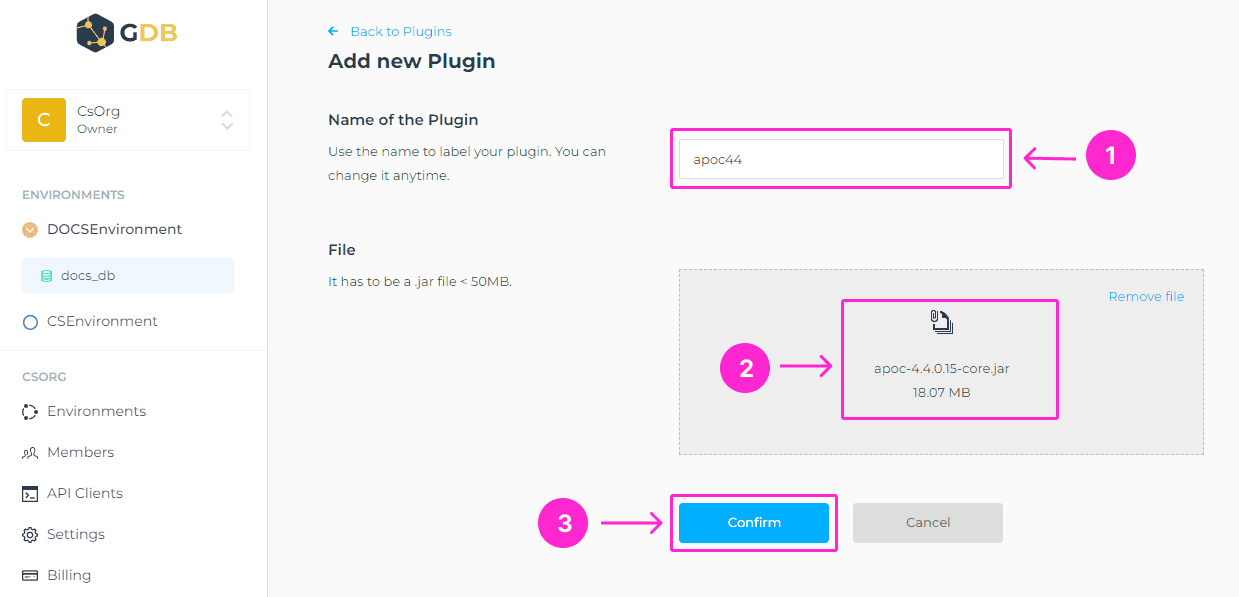
After clicking on +Add Plugin button, you’ll be prompted to the next screen where you’ll need to enter the name of the plugin and select the .jar file of the plugin you want to upload. Usually, Plugins need additional configuration. You can easily add the configuration in the Configure tab.
To complete this, please click on Confirm button.
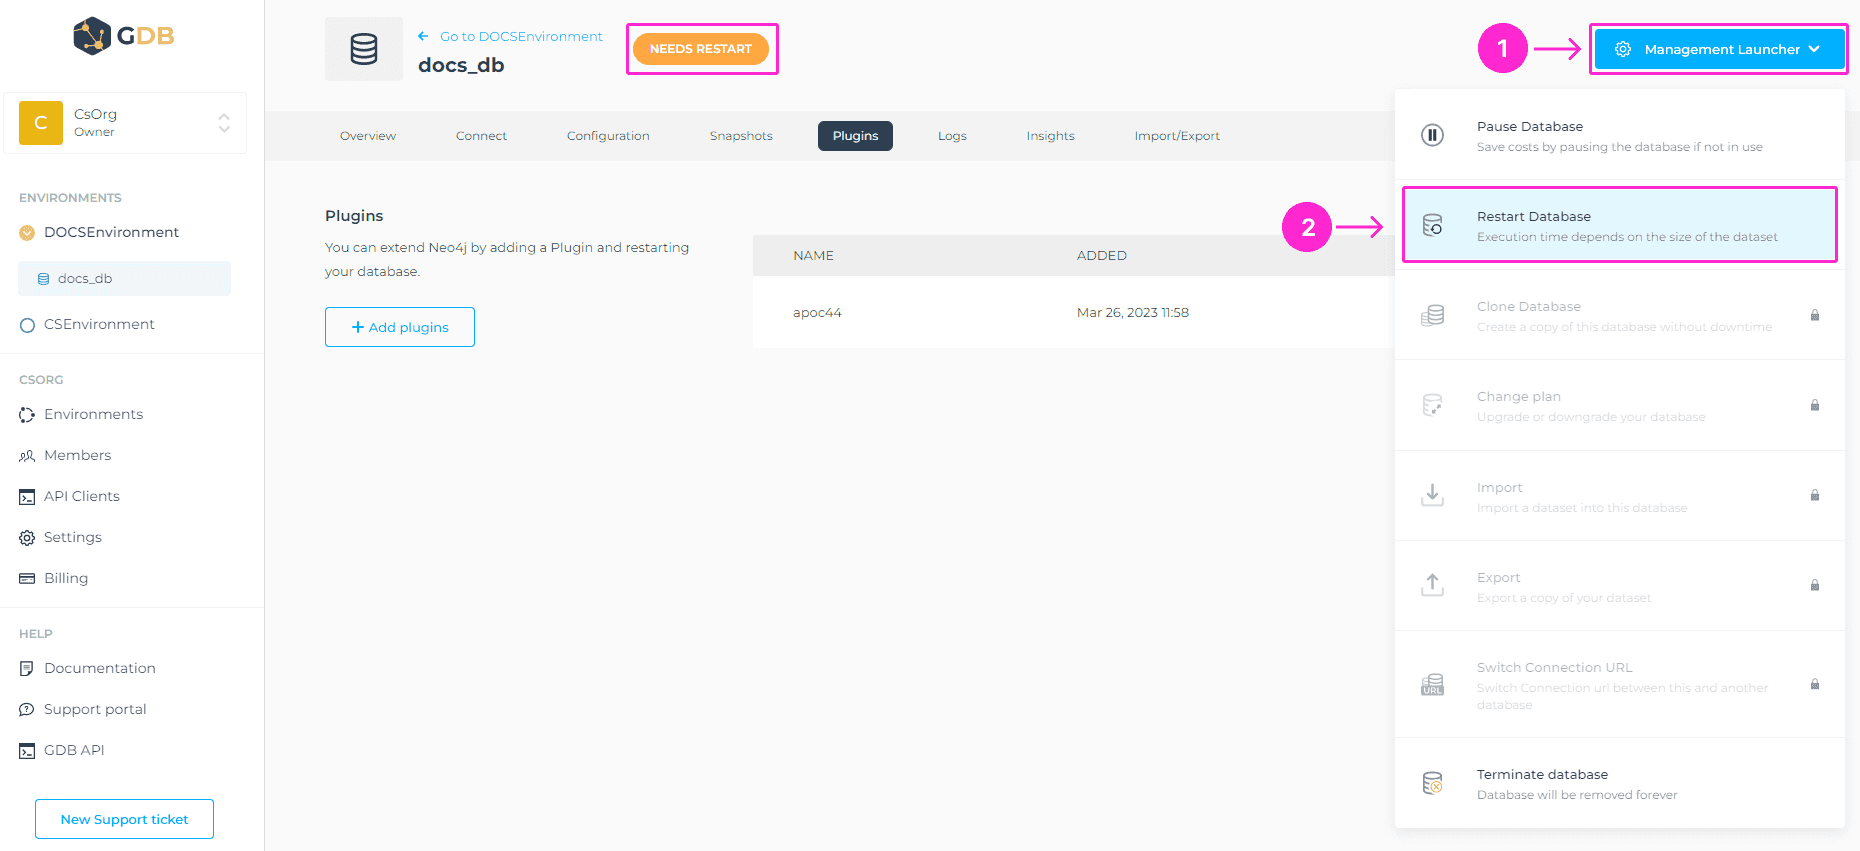
Once the .jar file is loaded, navigate to the Management Launcher at the upper right corner, and initiate the restart of the database.
⚠️ Important
- You will need to restart the database after creating the Plugin.
- Make sure that you’re using the correct version compatible with your database.
- Navigate to the Configuration tab if your plugin needs a specific configuration to run.
APOC for Neo4j v4
APOC is a generally usable library of procedures by Michael Hunger that covers different aspects that are currently not available on Cypher. It contains more than 200 procedures of different areas. You can read more about it here.
Advisable would be that you use apoc-core instead of apoc-full when using our lower plans, in case you don’t need all procedures from apoc-full. The reason is, our smallest plans are lower on CPU and memory resources and when enabling apoc-all it requires a quite big amount of memory for loading all the procedures.
ℹ️ Important
Since the release of Neo4j v5 there were many changes related to APOC, so if you are using Neo4j v5 please refer to our separate documentation article.
How to install APOC?
To install APOC, first you’ll need to ensure that the APOC version you’re installing is compatible with your version of the database. For example, if your database is version Neo4j 4.3.5, you should download the 4.3.x.x version of APOC. All APOC releases can be found here, and when searching by tags, you’ll be able to find the compatible version of APOC.
Next, please navigate to the database interface, Plugins tab > + Add Plugins button and you’ll be prompted to add a name to the plugin and upload a .jar file you’ve downloaded.
To check that APOC is correctly installed and to get a comprehensive list of all the APOC procedures, you can execute CALL apoc.help('apoc') from your Neo4j Browser, and you can also provide some filtering if you want to.
You can also get a list of all available procedures using built-in procedure that you can execute from your Neo4j Browser: SHOW PROCEDURES. Keep in mind that the code is version dependent, so before executing it, please refer to Neo4j docs to ensure the code is correct based on your database Neo4j version. You can find more info following this link.
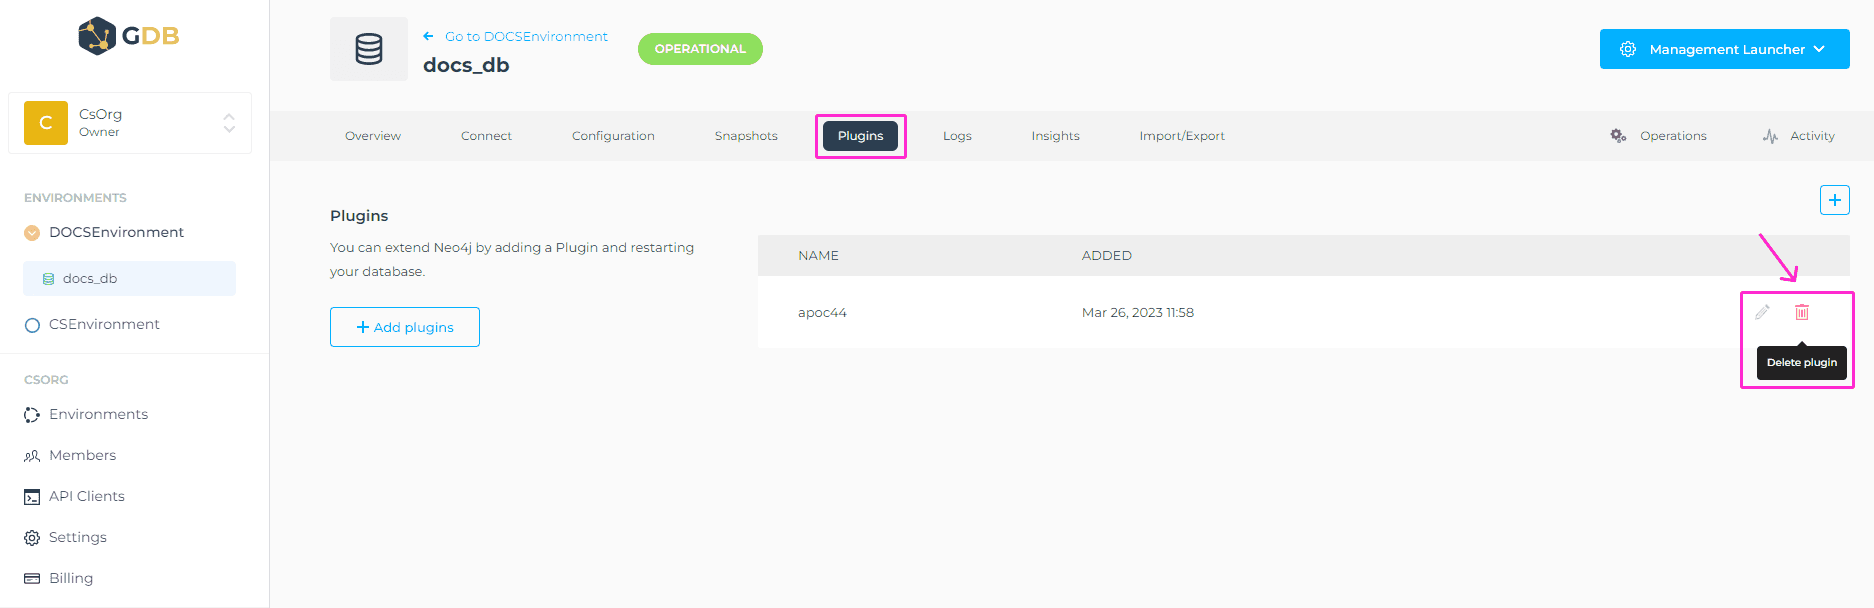
Removing a Plugin
To remove the plugin from your list of Plugins, navigate to the Plugins tab > locate the plugin you want to delete > click on trashcan icon on the right-hand side. A modal window will appear, where you’ll need to click on Confirm button, to complete this action. Database will need to be restarted for the changes to get applied and you can do so via Management Launcher at the upper right corner.